How To Make 3D Cutting Board? 2023’s Best Procedure
Want to make a unique cutting board? Crafting your own 3D cutting board is a great way to take your woodworking skills to the next level. Not only will you be able to show off your woodworking prowess, but you’ll also be able to create a cutting board that’s customized to your needs.
Before that, you need to know how to make 3D cutting board. You may feel intimidated when making a 3D cutting board. You can easily create a unique cutting board with a few essential tools and creativity to impress your family and friends.
In this blog, I’ll walk you through the steps to make a 3D cutting board of your own, from selecting the right materials to properly finishing the board. With a bit of patience and skill, you’ll be able to create a one-of-a-kind cutting board that you’ll be proud to use.
So let’s get started.
Process of How To Make 3D Cutting Board
Making a 3D cutting board can be a fun and creative woodworking project. Here are the steps to make a 3D cutting board:
Choose A Design For The Cutting Board
When making a 3D cutting board, choosing a design is the first step. Several options are available, from simple rectangular shapes to intricate designs featuring carvings and inlays.
Consider the size and thickness of the board, as well as the type of wood you want to use. Consider the board’s purpose – will it be used for decoration, serving, or cutting?
Budget and time are important factors to consider when planning a project. Once you have chosen a design, you are ready to begin the project.
Gather The Necessary Materials
The necessary materials to make a 3D cutting board are a sheet of plywood, a jigsaw, clamps, sandpaper, wood glue, and a router. The sheet of plywood should measure 12″ x 12″ x 1″. The jigsaw will be used to cut the sheet of plywood into two identical pieces.
The clamps will secure the pieces in place while the wood glue dries. The sandpaper will be necessary to smooth out the edges of the cutting board. Finally, a router will be necessary to create the 3D effect on the board.
Cut The Board And Glue The Pieces Together
Cutting the board is the next step. Cutting boards can be made in various sizes, depending on the desired size. Measure the board, mark it with a pen to indicate the cutting lines, and then cut it with a saw.
After cutting, it is important to glue the pieces together. Use high-quality wood glue to ensure a tight bond. Clamps can also keep the pieces together while the glue dries. Once the glue is dry, sand the board to ensure no rough edges.
Sand The Board To Even Out The Edges
After cutting the board, it is essential to sand the edges to even out the board. Start with coarse-grit sandpaper, such as 80-100 grit, and sand the edges in a circular motion.
Use finer grit sandpaper, such as 200-400 grit, for a smoother finish. Avoid lumps and bumps by sanding the board evenly. When finished, wipe the board with a damp cloth to remove dust from the sanding.
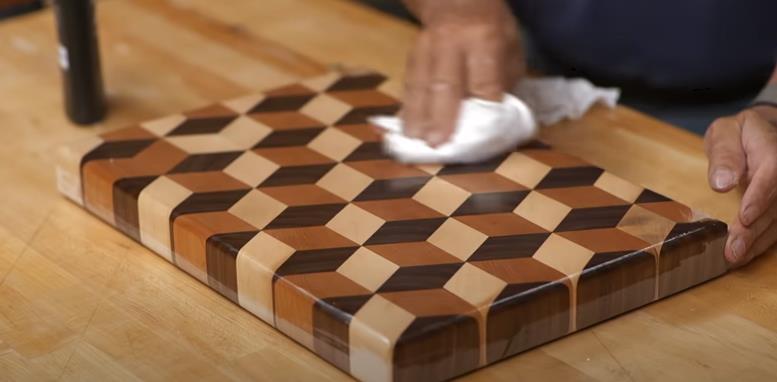
Apply A Protective Finish To The Board
The 3D cutting board must be finished with a protective finish to protect the wood from moisture or spills. Depending on the type of wood used, there are several options available.
For example, oil finishes like mineral oil, linseed oil, and tung oil can protect and bring out the natural beauty of the wood grain. Water-based finishes like polyurethane and varnish are also popular choices.
Each of these finishes has different levels of protection and should be applied according to the manufacturer’s instructions. Once the finish is applied, allowing adequate time to dry and cure before using the board is essential.
What Wood Is Used For 3d Cutting Boards?
Different kinds of wood can be used to make 3D cutting boards, depending on how they look and how well they work. Some types of wood that are often used for 3D cutting boards are:
- Hard maple: Hard maple is a common choice for cutting boards because it is vital, challenging, and doesn’t scratch or dent easily.
- Walnut: The dark color and beautiful grain patterns of walnut make it a prized hardwood. It’s also a good choice for cutting boards because it’s strong and lasts long.
- Cherry: Cherry wood is highly durable and resistant to wear and resistant to rot. It has a warm, reddish-brown color that gets darker over time.
- Bamboo: Bamboo is grass, not wood, but it is often used for cutting boards because it is durable, rugged, and doesn’t let bacteria grow on it.
- Teak: Teak is a tropical hardwood resistant to water and moisture. This makes it a good choice for cutting boards that will be used often and washed often. It is also well-known for how long and strong it lasts.
People Also Ask
Q. What materials are needed for a 3D cutting board?
A: You will need hardwood boards of different thicknesses and colors, food-safe glue, sandpaper, and mineral oil or beeswax for finishing.
Q. How long does it take to make a 3D cutting board?
A. The time it takes to make a 3D cutting board can vary depending on various factors, such as the size and complexity of the design, the materials used, the tools and equipment available, and the skill level of the person making it. However, on average, it can take a few hours to a few days to create a 3D cutting board.
Q: How do I design a 3D cutting board?
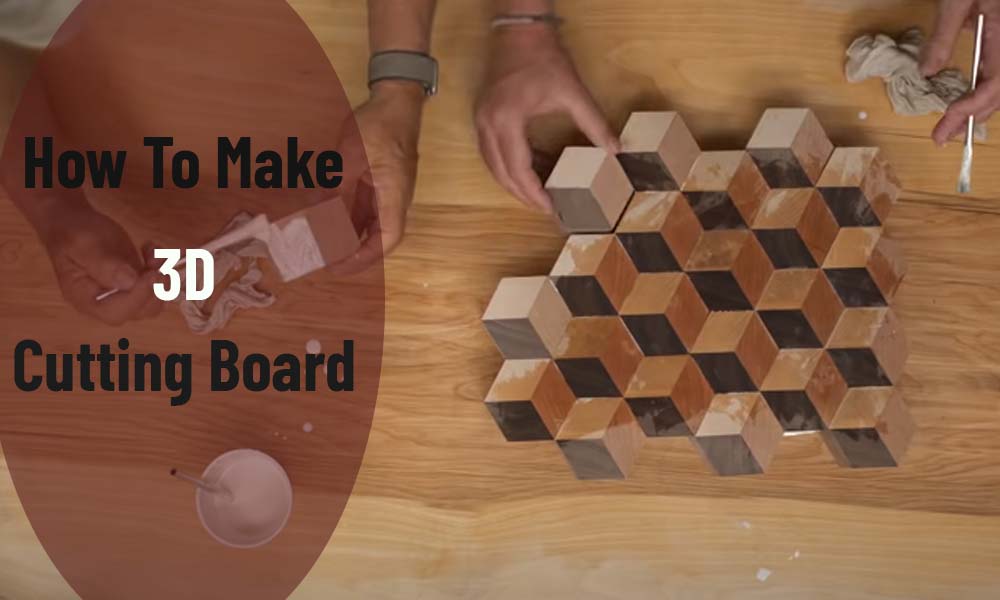
A: You can use design software or sketch your idea on paper. Some common 3D cutting board designs include geometric patterns, diagonal stripes, and chevron patterns.
Q: How do I cut and prepare the wood for a 3D cutting board?
A: First, you must choose the type and color of wood you want to use. Then, cut the boards into strips of different thicknesses and angles using a table saw or band saw. Next, use a jointer to make the edges straight and square and a planer to make the boards uniform in thickness.
Q: How do I glue the wood pieces together to make the 3D pattern?
A: Apply food-safe glue to the edges of the wood strips and press them together, alternating the angles to create the 3D effect. Use clamps to hold the pieces in place while the glue dries.
Q: How do I cut the board to shape?
A: After the glue has dried, use a chop saw, or band saw to cut the board to the desired shape, such as a rectangle or circle.
Q: How do I finish the 3D cutting board?
A: Sand the cutting board’s surface to make it smooth, and apply mineral oil or beeswax to protect the wood and enhance its natural beauty.
Q. How much does a 3D cutting board cost?
A. A 3D cutting board typically costs between $20 and $50.
Final Thought
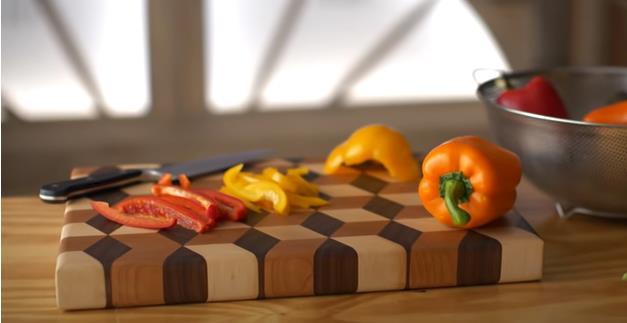
Creating a 3D cutting board is a fun and rewarding project that can add a touch of creativity and individuality to your kitchen.
By following the steps in this guide, you can make a cutting board that works well and looks great that is all your own. From choosing suitable materials to designing the perfect pattern, every step of the process allows you to be creative and make something unique.
I hope you enjoy my content on how to make 3D cutting board. Now you are able to make a beautiful 3D cutting board. So why not give it a try and personalize your kitchen today? You can enjoy it by using it for all your food prep needs or give it as a special gift.
Read More Article: