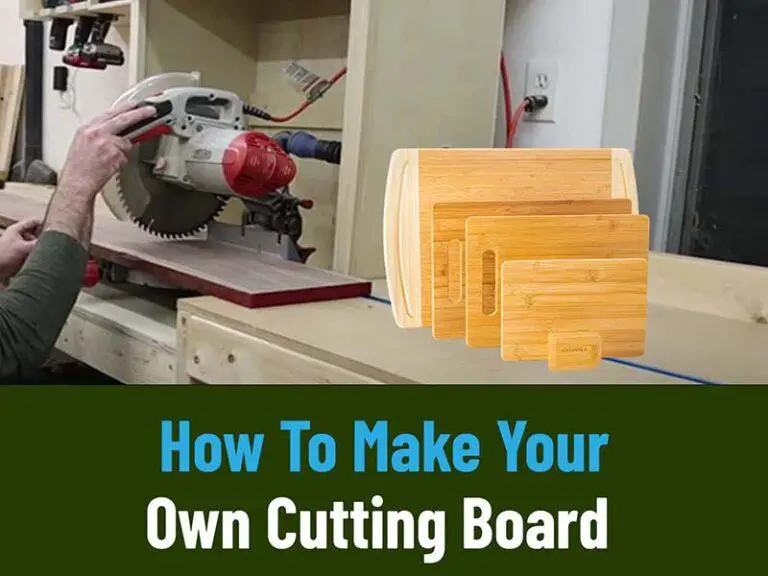
How To Engrave A Cutting Board? Know 5 Easy Steps
Are you know how to engrave a cutting board? Engraving a cutting board is an easy and straightforward process that can be done with a few simple tools and supplies. It is a great way to add a personal touch to your kitchen decor and give your cutting board a unique and stylish look. Whether you are a beginner or an experienced engraver, this guide will provide the steps you need to know to engrave a cutting board successfully.
Learn how to make a design, the necessary tools and supplies, and the best techniques for engraving a cutting board. With this guide, you’ll be able to create a beautiful and unique cutting board that’s sure to be the showpiece of your kitchen.
Process of How To Engrave A Cutting Board
Engraving a cutting board can be a great way to personalize it or add a decorative touch. Here are the steps to engrave a cutting board:
Gather The Necessary Materials
Engraving a cutting board is an enjoyable project that creates a unique, personalized item. To get started, you will need materials and tools like
- a cutting board
- A craft knife
- a ruler or straight edge
- a pencil, and
- a design to engrave.
Choose a cutting board made of hardwood, such as teak, walnut, or cherry. Make sure the board is clean and dry.
Prepare The Cutting Board
Preparing the cutting board for engraving is a crucial step. Start by wiping the board with a damp cloth. If any ridges exist, use fine grit sandpaper for sanding them down until the surface is smooth. Rub the board with a dry cloth after sanding to remove any dust. If the board is made of wood, you may need to apply a coat of wood sealer to protect it from moisture. Once the board has been prepared, it is ready to be engraved.
Choose The Design
After selecting the cutting board and the engraving tool, the next step is to decide on the design. Choose the design depending on the cutting board’s material and the engraving tool. For instance, a laser engraver suits intricate designs, while a wood-burning tool is best for more basic lines and shapes. Research ideas and decide the design that best suits the cutting board.
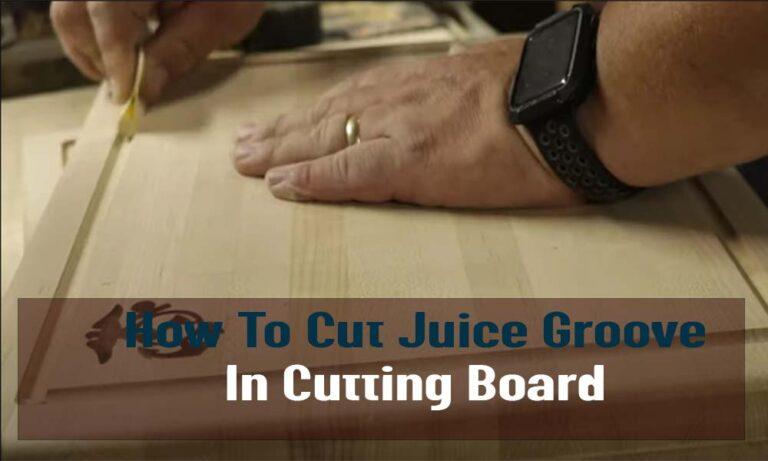
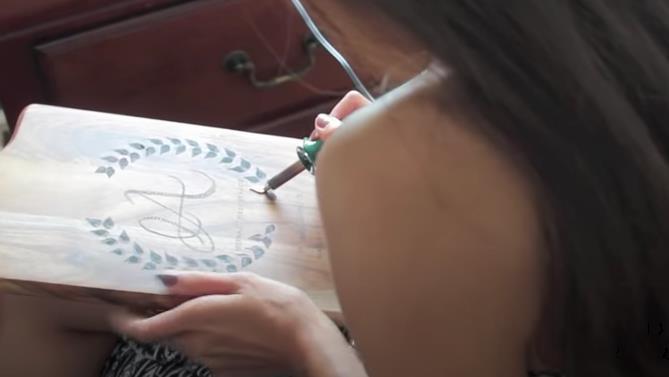
Cut Out The Design After Tracing It
Once you have the design ready, trace it onto the cutting board. You can use transfer paper and a pencil or use a stencil. If you use a stencil, tape it down with painter’s tape. Make sure you trace accurately, as any mistakes on the tracing will be visible on the finished product. If you have access to a laser cutter, you can use it to etch the design onto the cutting board.
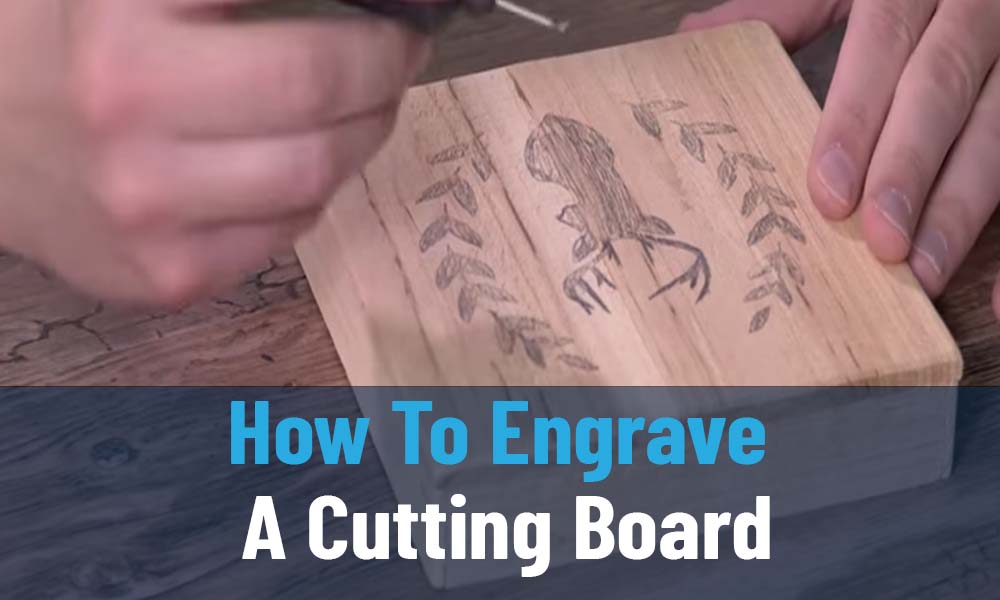
Cutting Board With Design Engraved
Engraving the design into the cutting board is the final step in the process. Use an engraving tool or a power engraver to draw the design onto the cutting board. Press firmly and move the tool in a slow, steady motion. Keep a light touch, and don’t press too hard, as this may damage the cutting board. If desired, apply a coat of food-grade oil or wax to the cutting board to protect the engraving and keep it looking its best. Once the design is complete, the cutting board is ready to use.
Always wear protective gear, such as gloves and eye protection, when engraving to avoid injuries.
Can You Engrave A Cutting Board?
Yes, you can engrave something on a cutting board. Personalizing a cutting board with engraving can make it a one-of-a-kind and special gift or addition to your kitchen. There are many ways to engrave a cutting board, such as with a laser, a CNC router, or by hand.
Cutting boards are often engraved with laser engraving, a popular and accurate method. A laser burns the design or text into the board’s surface. CNC routing is another option. Thats means carving the design into the board with a machine controlled by a computer. You can also use a carving tool to do hand engraving, though it may not be as precise as the other methods.
When you want to engrave a cutting board, choose one made of a material that can be engraved, like bamboo, hardwood, or acrylic. Using the right tools and methods for long-lasting, high-quality engraving is also essential.
What Is A Good Wood To Engrave?
Many kinds of wood can be engraved. Some of the most popular choices are:
Maple:
Maple is a dense, hard wood with a fine grain and smooth surface, making it great for engraving. It’s also very strong and can take a lot of use.
Cherry:
Cherry is a beautiful wood type often used to make furniture and cabinets. It has a tight grain that works well for engraving and a rich, warm color that makes engraving look great.
Walnut:
Walnut is often used for engraving because it has a rich, dark color and a beautiful grain pattern. It is also a solid wood that doesn’t break easily.
Mahogany:
Mahogany is a dense, heavy wood often used for high-end furniture and musical instruments. It works well for engraving and has a beautiful, deep color.
Birch:
Birch is a lighter-colored wood known for its smooth texture and fine grain. It is a good choice for engravings with lots of detail because the surface is smooth and easy to work with.
Ultimately, the best wood for engraving depends on the project and what you want to happen. You should always try different kinds of wood to find the best one for you.
How Do You Clean An Engraved Cutting Board?
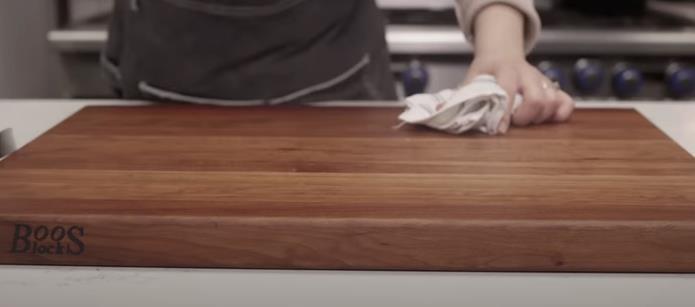
Cleaning a cutting board with engravings needs a little extra care so that the engravings don’t get damaged. Here are a few steps to take:
- Use mild soap: To clean the engraved cutting board, use mild soap and warm water. Don’t use harsh chemicals, abrasive cleaners, or bleach on the board’s surface because they can damage it.
- Scrub gently: Scrub the board gently with a soft-bristled brush or a sponge. If you scrub too hard, you could hurt the engraving.
- Rinse well: Rinse the cutting board well with clean water to remove all the soapy water.
- Dry the board: Use a clean towel or let it air dry to dry the cutting board. Don’t put it away while it’s still wet because that could cause it to warp or break.
- Oil the board: Once completely dry, you can apply a food-grade oil like mineral oil or beeswax to help condition and protect the wood. Use a clean cloth to spread the oil on the surface, and then let it sit for a few minutes before wiping off any extra.
Doing these things lets you keep your engraved cutting board clean and in good shape without hurting the engraving or the board’s surface.
People Also Ask
What tools are needed to engrave a cutting board?
A wood-burning tool, cutting board, carbon paper, pencil, and a design template. 2. How is the design transferred onto the cutting board? ANSWERS: Trace the design onto carbon paper and place it on the cutting board. Then trace the design with a pencil.
How long does it take to engrave a cutting board?
Engraving a cutting board can take five minutes to several hours, depending on the complexity of the design.
Are there any safety precautions to take when engraving?
Yes, safety precautions should be taken when engraving. Wear safety glasses to protect your eyes from wood chips and dust. Wear a dust mask to avoid inhaling wood dust. Use a clamp to secure the board before beginning. Keep hands away from the engraving bit and work in a well-ventilated area.
What materials are best for engraving a cutting board?
The best materials for engraving a cutting board are wood, bamboo, and melamine.
How do you prepare the cutting board for engraving?
- Clean the cutting board with soap and water.
- Sand the surface to make it smooth.
- Apply a thin layer of wood conditioner.
- Trace your design onto the cutting board.
- Secure the cutting board to a workbench.
Final Thought
Engraving a cutting board gives your kitchen a unique look. Engraving a cutting board is a quick and easy way to personalize a gift or your kitchen.
Follow these instructions to engrave a cutting board. First, pick a design or message. “Create your pattern on the cutting board by following your chosen method’s instructions. Engraving a cutting board can be a challenging but rewarding project. There are many internet resources for beginners and seasoned crafters.
So do not again think about how to engrave a cutting board. Now is the time to try engraving your cutting board. With a little time and work, you can make a unique, personalized kitchen accessory that you’ll be proud to show and enjoy for years.